With Presenter by WorshipTools, you can import slides from external sources, like PowerPoint, for projecting, but you can also create slides directly from within the program.
To get started, click on the Slides button in the top menu of Presenter, then click the + Add Slides button located in the upper right corner, then +New Slideshow. Populate the empty box with the name of your slideshow, then click Create Slideshow.
Now you should be in the slide editor screen where Presenter has populated the first slide. With several customizable options for adding slides to your presentation, such as background color, Presentation size, Slide Layers, and Slide Notes.

Slides
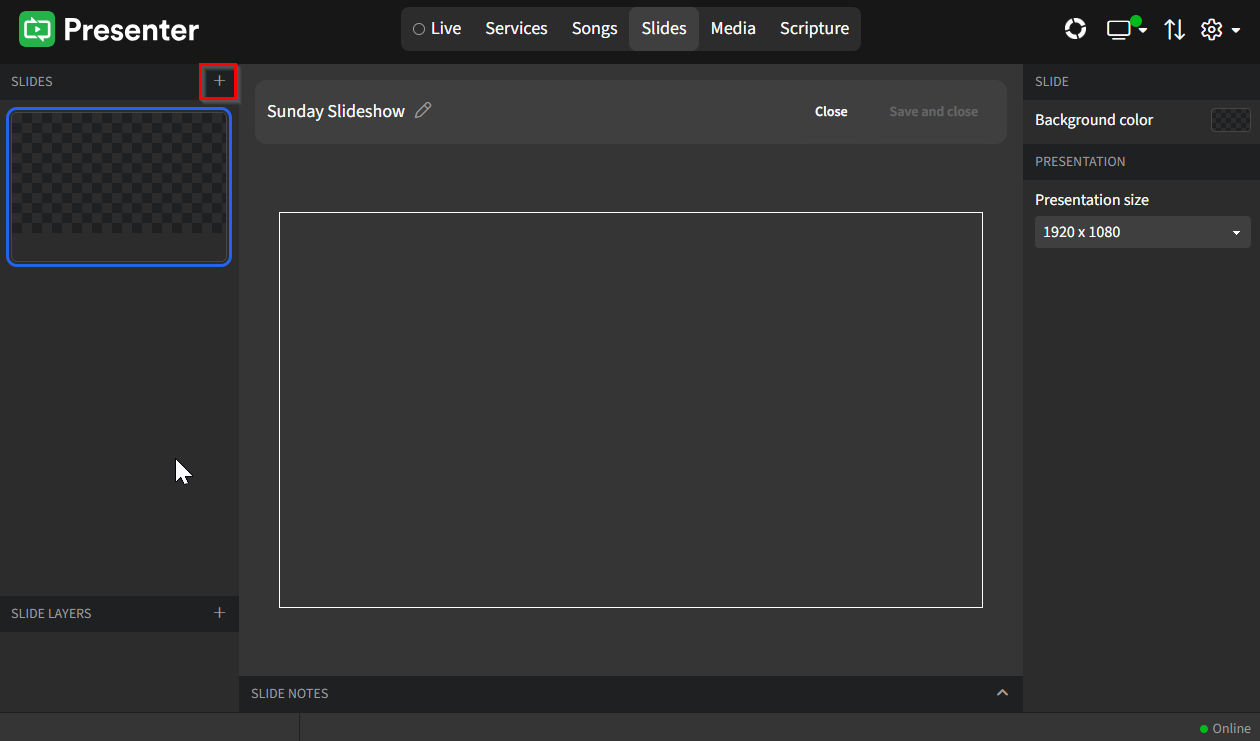
Along the left edge of Presenter, slides will appear as you add them. Click the + option to get started creating a new slide.
In the box that next appears, choose to either Create empty slide (great to use as a blank placeholder between other slides!) or, Create slide from a template - this is the option you most likely will use, and is the option selected for this article.
If there are no templates available on the next screen to select, you will need to create one before you can continue with this option. Read through the Presenter Templates for a quick overview to get started.
If templates are available, select one from the list to apply it to the slide, otherwise right-click on the first slide and select Duplicate, or click the + button as many times as you want to create additional slides.
Slide Labels
Please note that there has been a change in the behavior of this item compared to earlier versions of Presenter. Slide Labels are now classified as foreground elements and will appear on Song slides. You can manage these elements by accessing Presenter's settings and selecting the Songs option.
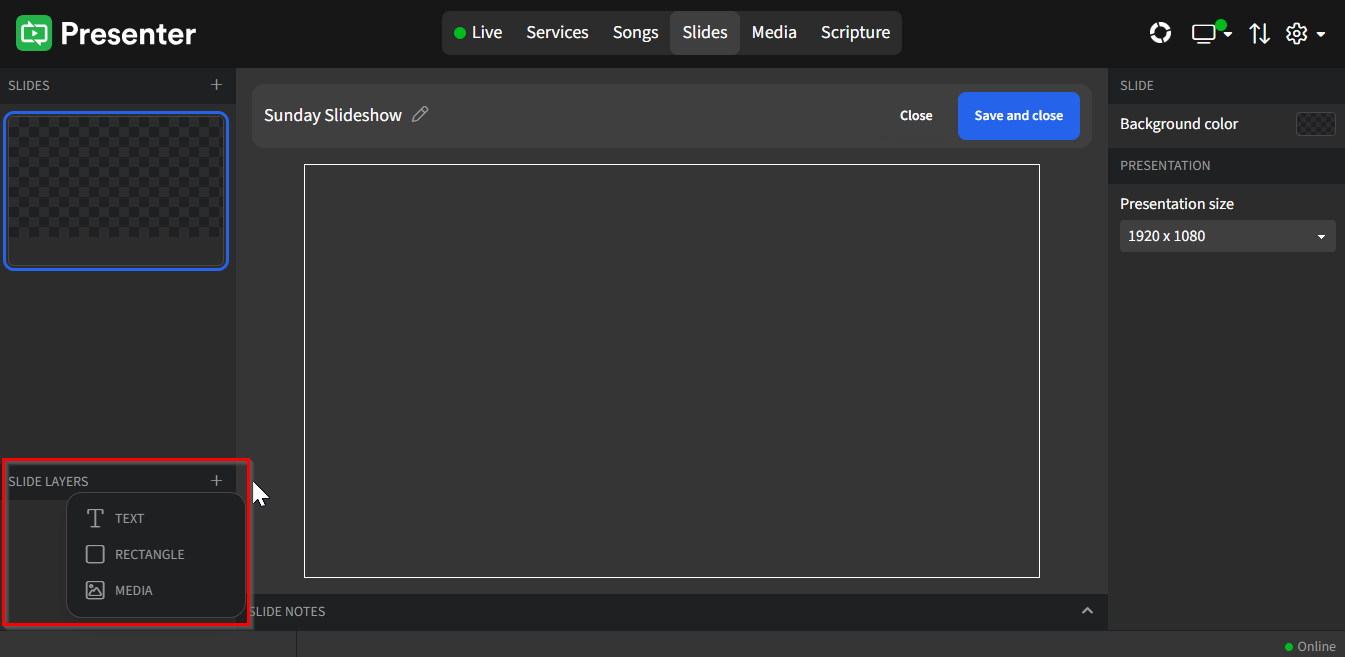
Slide Layers
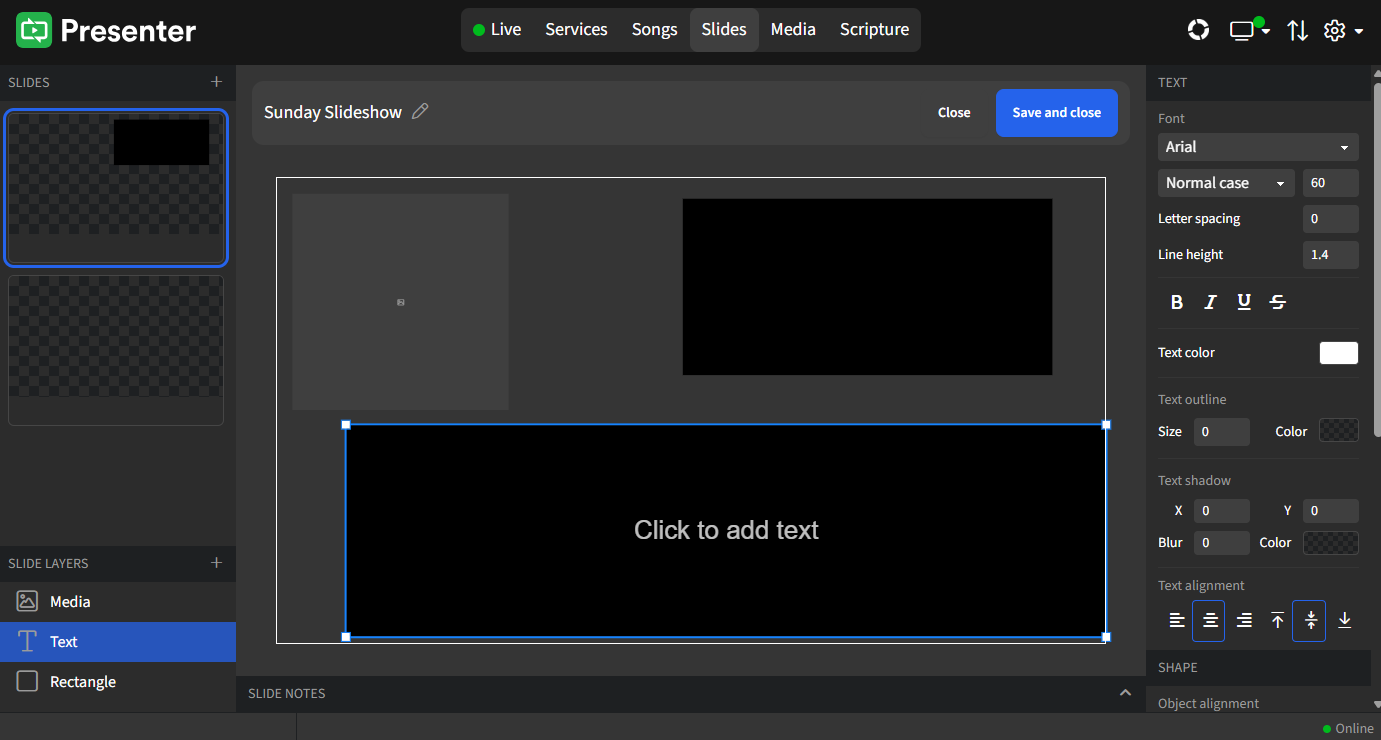
In the very bottom left corner of Presenter you'll find Slide Layers with three different types of layers when clicking the +. When interacting with each of these layers, a set of formatting tools for editing will appear on the right edge.
- Text: format your font, font size, colors, etc. in the Text Formatting section which appears on the right
- Rectangle: add a block of color to enhance other layers
- Media: choose a motion background or image from your Media Library
All three layers can be simultaneously active, which is great for flexibility! To move a box, simply click anywhere inside it and then drag it to your desired location. If you need to adjust the size of the box, just hover your mouse over one of its four edges. This allows you to click and drag the edge to your preferred width or height easily.
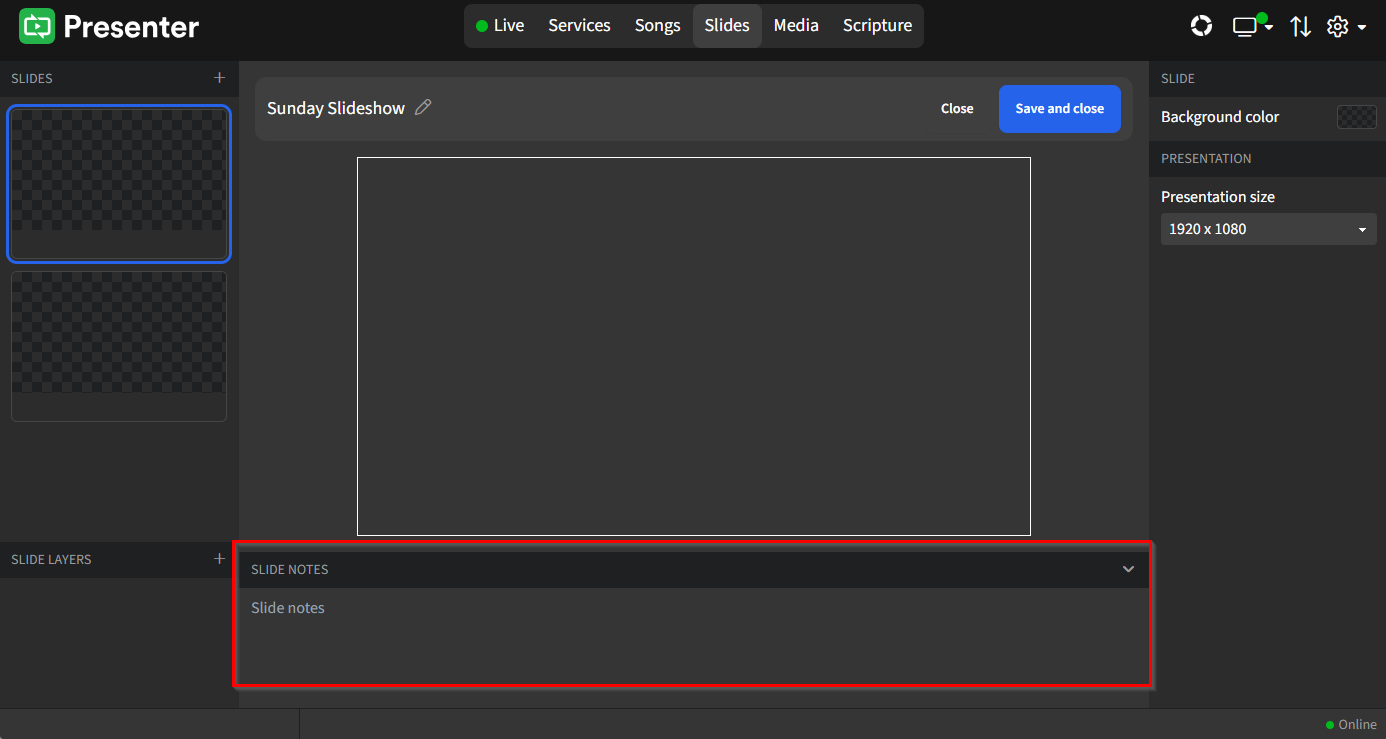
Slide Notes
Enhance your team’s understanding during your presentation by utilizing the Slide Notes feature. This allows you to provide additional context or emphasis on specific elements of the slide. For example, you might specify which chords to use for a musical piece or offer insights and reminders that relate directly to the content on the slide. By adding these notes, you ensure that key points are not only highlighted visually but also reinforced with relevant information that can guide your team’s discussions or decisions.